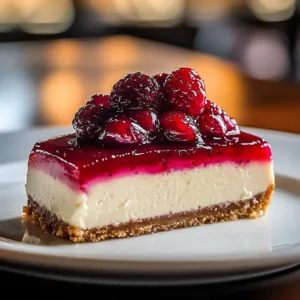
Mini cheesecakes are a delightful treat that never fails to impress—whether it’s for a cozy family gathering or a festive celebration. This recipe is not only simple but allows you to customize each mini cheesecake according to your guests’ tastes. I’ve made these little gems countless times, and they always win rave reviews. Today, I’m excited to share with you how to whip up these delightful, creamy wonders that are sure to bring smiles to any occasion.
Why You’ll Love This Dish
Mini cheesecakes are the perfect solution for those who want the indulgent experience of cheesecake without the fuss of a full-sized version. They are quick to prepare and bake, making them a fantastic last-minute dessert option. Plus, they’re incredibly budget-friendly, using just a handful of staples you probably already have in your pantry. Imagine bringing out a platter of these creamy bites at your next brunch or picnic; your friends and family will be thoroughly impressed.
“The mini cheesecakes were a huge hit! They were creamy, delicious, and the perfect size for satisfying my sweet tooth without overindulging.” – Emily R.
Preparing Mini Cheesecakes
Making mini cheesecakes is a straightforward process that involves creating a buttery graham cracker crust followed by a smooth cream cheese filling. Here’s a brief step-by-step outline so you know what to expect:
- Prepare the crust: Mix graham cracker crumbs with melted butter and press into muffin tins.
- Make the filling: Beat together cream cheese, sugar, and eggs, then pour it over the crust.
- Bake and chill: Bake until set, allow to cool, then chill before serving.
With this overview, you’re ready to dive into the ingredients needed!
Key Ingredients
Gathering the right ingredients is essential for achieving that perfect mini cheesecake. Here’s what you’ll need:
- 16 oz (450 g) cream cheese, softened
- 1/2 cup granulated sugar
- 1 teaspoon vanilla extract
- 2 large eggs
- 1 cup graham cracker crumbs
- 1/4 cup (4 tablespoons) butter, melted
- 1/4 cup sour cream (optional for extra creaminess)
- Toppings of choice: fresh fruit, chocolate sauce, caramel, jam, whipped cream, etc.
For those who may need substitutes, you can use reduced-fat cream cheese or a dairy-free alternative to suit dietary preferences.
Directions to Follow
Let’s break down the cooking process into simple, actionable steps. Here’s how to prepare your mini cheesecakes:
- Preheat your oven to 325°F (163°C).
- In a bowl, combine the graham cracker crumbs and melted butter to create a mixture that resembles wet sand.
- Line a 12-cup muffin tin with paper or silicone liners. Press about 1-2 tablespoons of the crust mixture into the bottom of each cup, forming a firm base.
- In a mixing bowl, beat the softened cream cheese until it’s smooth and free from lumps.
- Gradually add the granulated sugar, continuing to beat until well combined.
- Mix in the vanilla extract. Add the eggs one at a time, beating on low speed just until blended after each addition.
- If you’re using it, gently fold in the sour cream for a silkier texture.
- Spoon the cream cheese mixture evenly over the prepared crusts, filling almost to the top.
- Bake in the preheated oven for 15-20 minutes, until the centers are set but still have a slight jiggle.
- Remove from the oven and let cool to room temperature.
- Refrigerate for at least 2 hours before adding your favorite toppings.
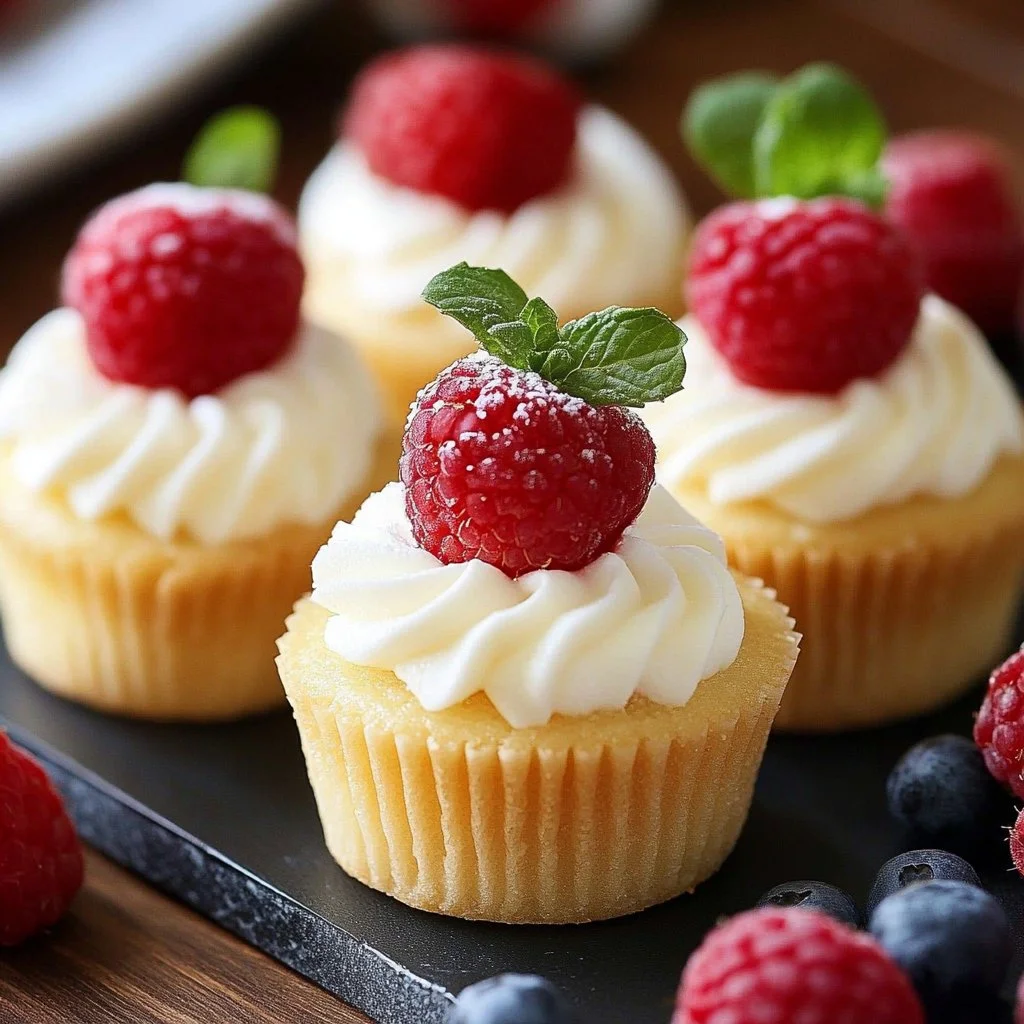
- Serve chilled and enjoy!
Best Ways to Enjoy It
When it comes to serving mini cheesecakes, the possibilities are endless! You can top them with fresh berries, drizzle with chocolate sauce, or add a dollop of whipped cream for a classic touch. For a fun presentation, arrange them on a beautiful platter and garnish with mint leaves or edible flowers. Pair them with a strong coffee or a sweet dessert for a delightful experience.
Keeping Leftovers Fresh
You’ll want to make the most of any leftovers. To store your mini cheesecakes, place them in an airtight container and keep them in the refrigerator for up to 5 days. If you’d like to extend their shelf life, you can freeze them for up to 1 month. Just make sure to thaw them in the refrigerator before serving again.
Pro Chef Tips
- Use room temperature ingredients: For a smoother filling, ensure your cream cheese and eggs are at room temperature before mixing.
- Don’t overbake: Keep an eye on them during the last few minutes of baking. They should have a slight jiggle in the center when you take them out.
- Customize the toppings: Mix and match toppings based on the season or occasion—mango in summer, pumpkin pie spice in fall!
Creative Twists
Feeling adventurous? Here are a few fun variations to try:
- Chocolate Mini Cheesecakes: Add melted chocolate to the cream cheese mixture and top with chocolate ganache.
- Fruit Swirl: Stir in a fruit puree (like raspberry or blueberry) into the cream cheese before baking.
- Salted Caramel Delight: Drizzle salted caramel sauce over the top for a sweet and salty combo.
Your Questions Answered
How long do these mini cheesecakes take to prepare?
Preparing and baking the mini cheesecakes will take around 25-30 minutes. Just remember to factor in at least 2 hours for chilling!
Can I use a different crust?
Absolutely! If you’re not a fan of graham crackers, try using crushed cookies like Oreos or digestive biscuits for a unique flavor.
Is it safe to freeze mini cheesecakes?
Yes, you can freeze them! Just make sure they are well-wrapped or stored in a suitable airtight container. Allow them to thaw gradually in the fridge before serving.
With this guide, you’re fully equipped to make your own fabulous mini cheesecakes that are sure to impress. Happy baking!

Mini Cheesecakes
Ingredients
Method
- Preheat your oven to 325°F (163°C).
- In a bowl, combine the graham cracker crumbs and melted butter to create a mixture that resembles wet sand.
- Line a 12-cup muffin tin with paper or silicone liners. Press about 1-2 tablespoons of the crust mixture into the bottom of each cup, forming a firm base.
- In a mixing bowl, beat the softened cream cheese until it’s smooth and free from lumps.
- Gradually add the granulated sugar, continuing to beat until well combined.
- Mix in the vanilla extract. Add the eggs one at a time, beating on low speed just until blended after each addition.
- If you’re using it, gently fold in the sour cream for a silkier texture.
- Spoon the cream cheese mixture evenly over the prepared crusts, filling almost to the top.
- Bake in the preheated oven for 15-20 minutes, until the centers are set but still have a slight jiggle.
- Remove from the oven and let cool to room temperature.
- Refrigerate for at least 2 hours before adding your favorite toppings.
- Serve chilled and enjoy!