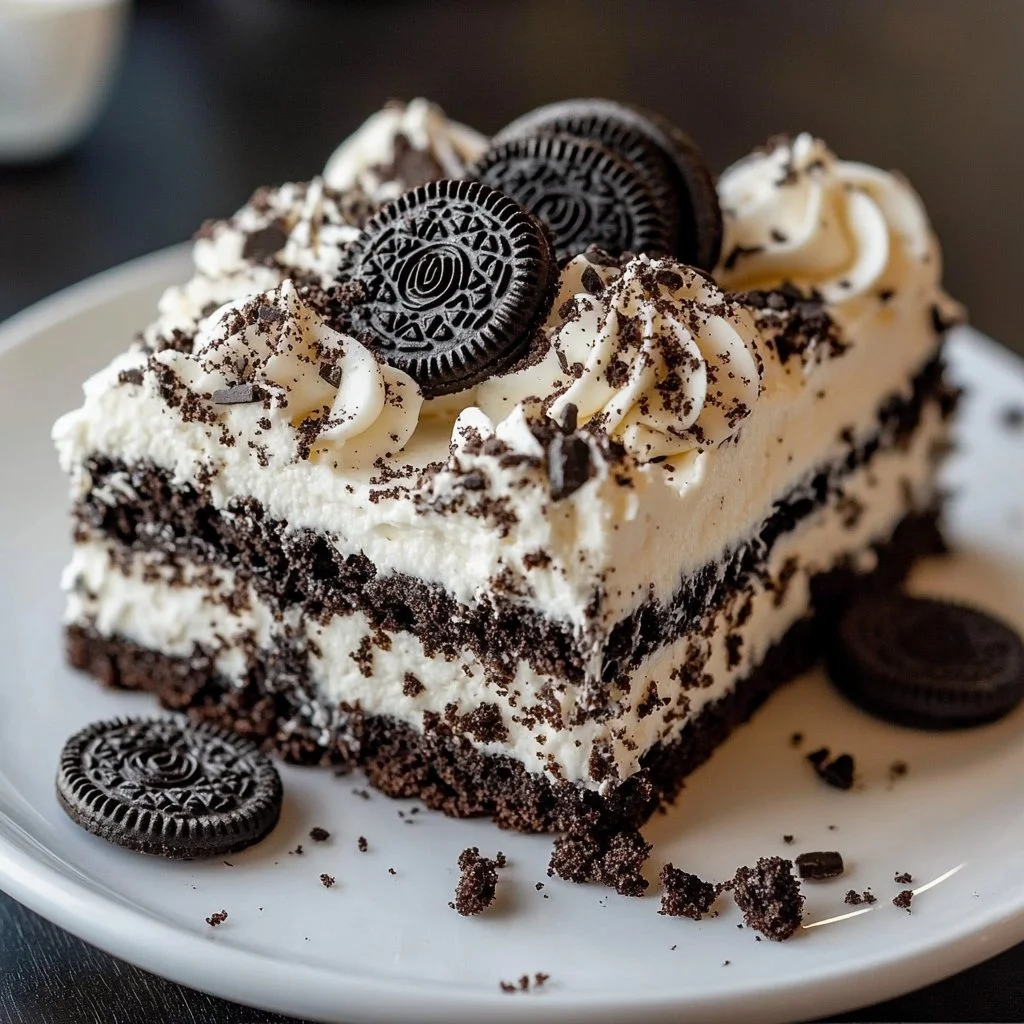
I still remember the first time I made this Oreo Dump Cake — it vanished so fast that I had to hide the last square in the freezer. It’s a ridiculously simple, layered dessert: chopped Oreos, a quick chocolate pudding layer, a dry cake mix that bakes into a crunchy top, and a cloud of whipped topping. People make it for potlucks, last-minute guests, bake sales, or any afternoon when you need a no-fuss chocolate fix. If you like quick, crowd-pleasing sweets that look impressive but don’t require a mixer, this one’s for you. For another easy, make-ahead dessert idea in the same spirit, try this easy churro cheesecake.
Why you’ll love this dish
This cake gives you big chocolate flavor with tiny hands-on time. It’s budget-friendly — pantry staples and Oreos do all the heavy lifting — and wildly kid-approved. You don’t need to cream butter, sift flour, or measure eggs; just layer, pour, and bake. It’s also forgiving: small spills or uneven layers won’t ruin the final result.
"A chocoholic’s dream in under an hour — crunchy top, soft middle, and those Oreo bits are everything." — home baker review
When to make it: potlucks, game nights, last-minute dessert for dinner guests, or anytime you want a nostalgic Oreo-forward treat with minimal effort.
The cooking process explained
Short overview: you’ll line a 9×13 pan with chopped Oreos, pour instant pudding mixed with milk over them, sprinkle an unpacked chocolate cake mix on top, drizzle melted butter so it bakes into a crisp crust, and bake. After a brief cool, smooth on whipped topping and scatter mini chips or extra cookies.
Quick expectations: active prep takes about 15 minutes. Bake 35 minutes. Cool 10 minutes, then finish with whipped topping. No mixer required, and cleanup is just one baking dish.
Gather these items
- 24 Oreo cookies, roughly chopped (reserve a few whole or halved for garnish)
- 1 box (3.9 oz) instant chocolate pudding mix
- 2 cups cold milk
- 1 box (15.25 oz) chocolate cake mix (dry — do not prepare)
- 1/2 cup unsalted butter, melted
- 1 cup whipped topping (such as Cool Whip), thawed
- 1/2 cup mini chocolate chips (optional)
- Extra Oreo cookies for garnish (optional)
Notes and substitutions:
- If you want a slightly less sweet crust, use a dark chocolate or devil’s food cake mix.
- For a gluten-free version, use gluten-free sandwich cookies and a certified GF chocolate cake mix.
- Vegan swap: dairy-free instant pudding, plant-based whipped topping, vegan butter, and vegan sandwich cookies.
- If you don’t have mini chips, chop a chocolate bar and sprinkle that on top.
For inspiration on other quick layered desserts and how pantry shortcuts can yield showstopper results, check this decadent apple crisp cheesecake.
How to prepare it
- Preheat and prep. Heat the oven to 350°F (175°C). Lightly grease a 9×13-inch baking dish.
- Layer the Oreos. Spread the roughly chopped Oreos in an even layer across the bottom of the dish. Leave a few halves whole for garnish if you like.
- Make the pudding. In a medium bowl whisk the instant chocolate pudding mix with 2 cups cold milk until thick, about 2 minutes. Pour it evenly over the Oreos.
- Add the dry cake mix. Sprinkle the entire dry chocolate cake mix evenly over the pudding layer. Try to cover as much surface as you can.
- Drizzle butter. Pour the melted butter over the cake mix. Move the spoon or drizzle bottle around to hit as much of the surface as possible — this is what crisps the top.
- Bake. Place the pan in the oven and bake for 35 minutes, or until the top is set and slightly crisp.
- Cool and top. Remove the pan and let it cool for 10 minutes. Spread the whipped topping over the warm cake. Sprinkle with mini chips and extra Oreos. Serve warm or at room temperature.
Keep directions short and actionable: chop, whisk, sprinkle, drizzle, bake, cool, spread.
Best ways to enjoy it
- Serve warm with a scoop of vanilla ice cream for contrast between hot and cold.
- Plate small squares with an extra Oreo half on top and a drizzle of chocolate sauce for a potluck-ready presentation.
- Pair with strong coffee, espresso, or a cold milk for classic Oreo vibes.
- For a brunch twist, cut into small bites and serve on a dessert platter next to fruit skewers to balance the sweetness.
If you want to turn it into a party dessert, make it in mini disposable pans for easy transport and single-serve portions.
Storage and reheating tips
- Short-term: Keep leftovers covered in the refrigerator. Because this dessert contains milk-based pudding and whipped topping, refrigerate within 2 hours of serving. Eat within 3–4 days.
- Reheating: If you prefer it warm, microwave individual slices for 10–20 seconds (without whipped topping) and add fresh topping after warming. Don’t microwave cold whipped topping — it will collapse.
- Freezing: To freeze, skip the whipped topping. Bake, cool completely, then wrap tightly or freeze in an airtight container for up to 2 months. Thaw overnight in the fridge and add whipped topping before serving.
- Food safety: Avoid leaving at room temperature for extended periods since dairy components can spoil. Always use fresh milk and whipped topping within their use-by dates.
Helpful cooking tips
- Even butter distribution matters. Use a small ladle or squeeze bottle to drizzle the butter evenly so the top crisps uniformly.
- Don’t mix the cake mix into the pudding — keep it dry on top. The dry mix absorbs moisture as it bakes and becomes the crunchy topping.
- If you prefer chunks of Oreo throughout instead of big pieces, pulse cookies in short bursts so you retain texture.
- To get an extra-crisp finish, broil for 30–60 seconds after baking — watch closely to avoid burning.
- For cleaner squares, chill the cake for an hour before cutting. Warm cake can be more crumbly and soft.
Recipe variations
- Mint Oreo Dump Cake: Use mint Oreos and add a teaspoon of peppermint extract to the pudding. Top with chopped Andes candies.
- Peanut butter twist: Mix 1/2 cup peanut butter into the melted butter before drizzling. Use peanut butter Oreos or add chopped peanut butter cups on top.
- Fruit-forward: Layer sliced strawberries or raspberries on top of the pudding before adding cake mix for a tart contrast.
- Lighter version: Use sugar-free instant pudding and light whipped topping; be mindful that texture may differ slightly.
- Gluten-free/vegan: Use GF/vegan cake mix, dairy-free pudding and whipped topping, vegan butter, and certified GF/vegan sandwich cookies.
Common questions
Can I make this ahead of time?
Yes. Bake and cool completely, then cover and refrigerate for up to 48 hours before adding whipped topping. If freezing, omit the whipped topping and add it after thawing.
Can I use different cookies instead of Oreos?
Absolutely. Chocolate sandwich cookies work best for that classic flavor, but you can use Golden Oreos, mint Oreos, peanut butter cookies, or even chopped chocolate chip cookies. Expect changes in sweetness and texture.
Do I have to use instant pudding?
Instant pudding gives the quick-set, creamy layer that works with this no-bake approach. Cook-and-serve pudding will also work but needs to be fully chilled before layering so it doesn’t melt the cake mix.
Is it safe to leave the cake out at a party?
Because of the milk and whipped topping, don’t leave the cake out for more than 2 hours at room temperature. If the room is warm, shorten that time. For long events, keep slices refrigerated and bring them out in small batches.
My top fell flat — how do I get a crisper crust?
Make sure the butter is fully melted and is drizzled to cover most of the cake mix surface. If the topping still seems doughy, give it another 5–10 minutes in the oven or broil for 30–60 seconds while watching closely.
If you want other make-ahead desserts that use similar shortcuts and pantry swaps, see the decadent apple crisp cheesecake.

Oreo Dump Cake
Ingredients
Method
- Preheat the oven to 350°F (175°C) and lightly grease a 9x13-inch baking dish.
- Spread the roughly chopped Oreos in an even layer across the bottom of the dish. Leave a few halves whole for garnish.
- In a medium bowl, whisk the instant chocolate pudding mix with 2 cups of cold milk until thick, about 2 minutes. Pour it evenly over the Oreos.
- Sprinkle the entire dry chocolate cake mix evenly over the pudding layer, trying to cover as much surface as you can.
- Pour the melted butter over the cake mix, ensuring even distribution.
- Place the pan in the oven and bake for 35 minutes, or until the top is set and slightly crisp.
- Remove the pan and let it cool for 10 minutes. Spread the whipped topping over the warm cake and sprinkle with mini chocolate chips and extra Oreos. Serve warm or at room temperature.